I grew up in the sprawling countryside where all manner of flower grew bright and wild and an orb weaver spider found her way into our garden every summer, crafting her loveliest, most intricate gossamer web among the dew-drenched blooms. There she’d remain throughout the warm months, perfectly positioned to observe her kingdom.
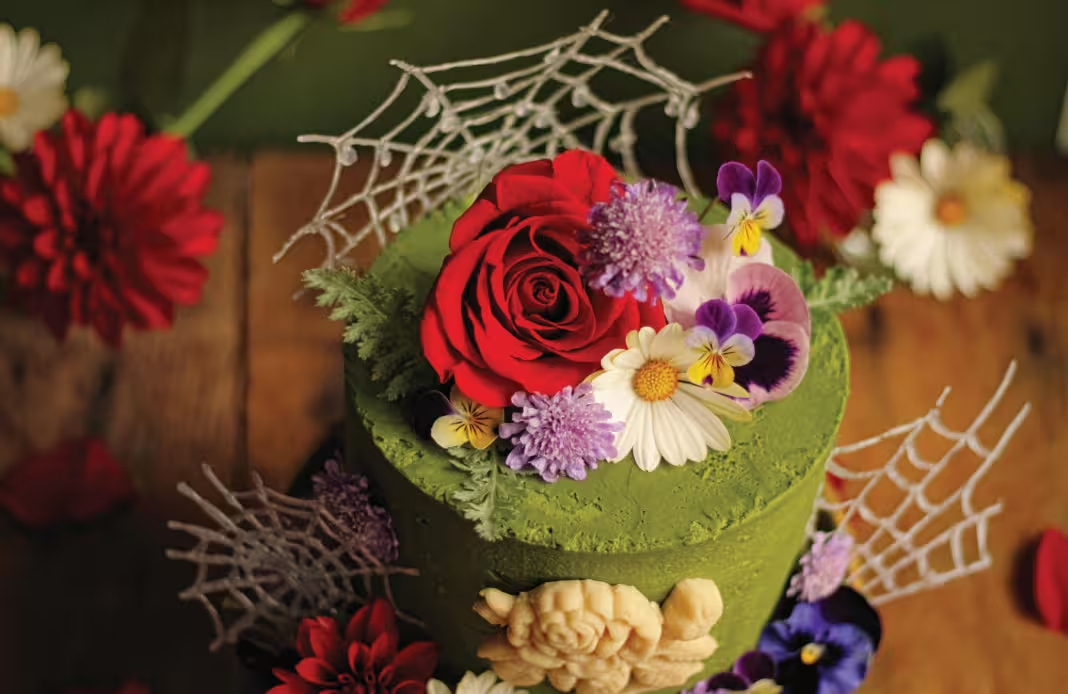
Now, on my own property, I have a new line of orb weavers enchanting passing fairies and catching dewdrops each morning. Last year one of them spun a shining silver web that was almost nine feet tall and lasted into the early fall—an impressive feat even by orb weaver standards. This rose cake is my ode to those lovely orb weavers of my childhood and all the ones who’ve come after.
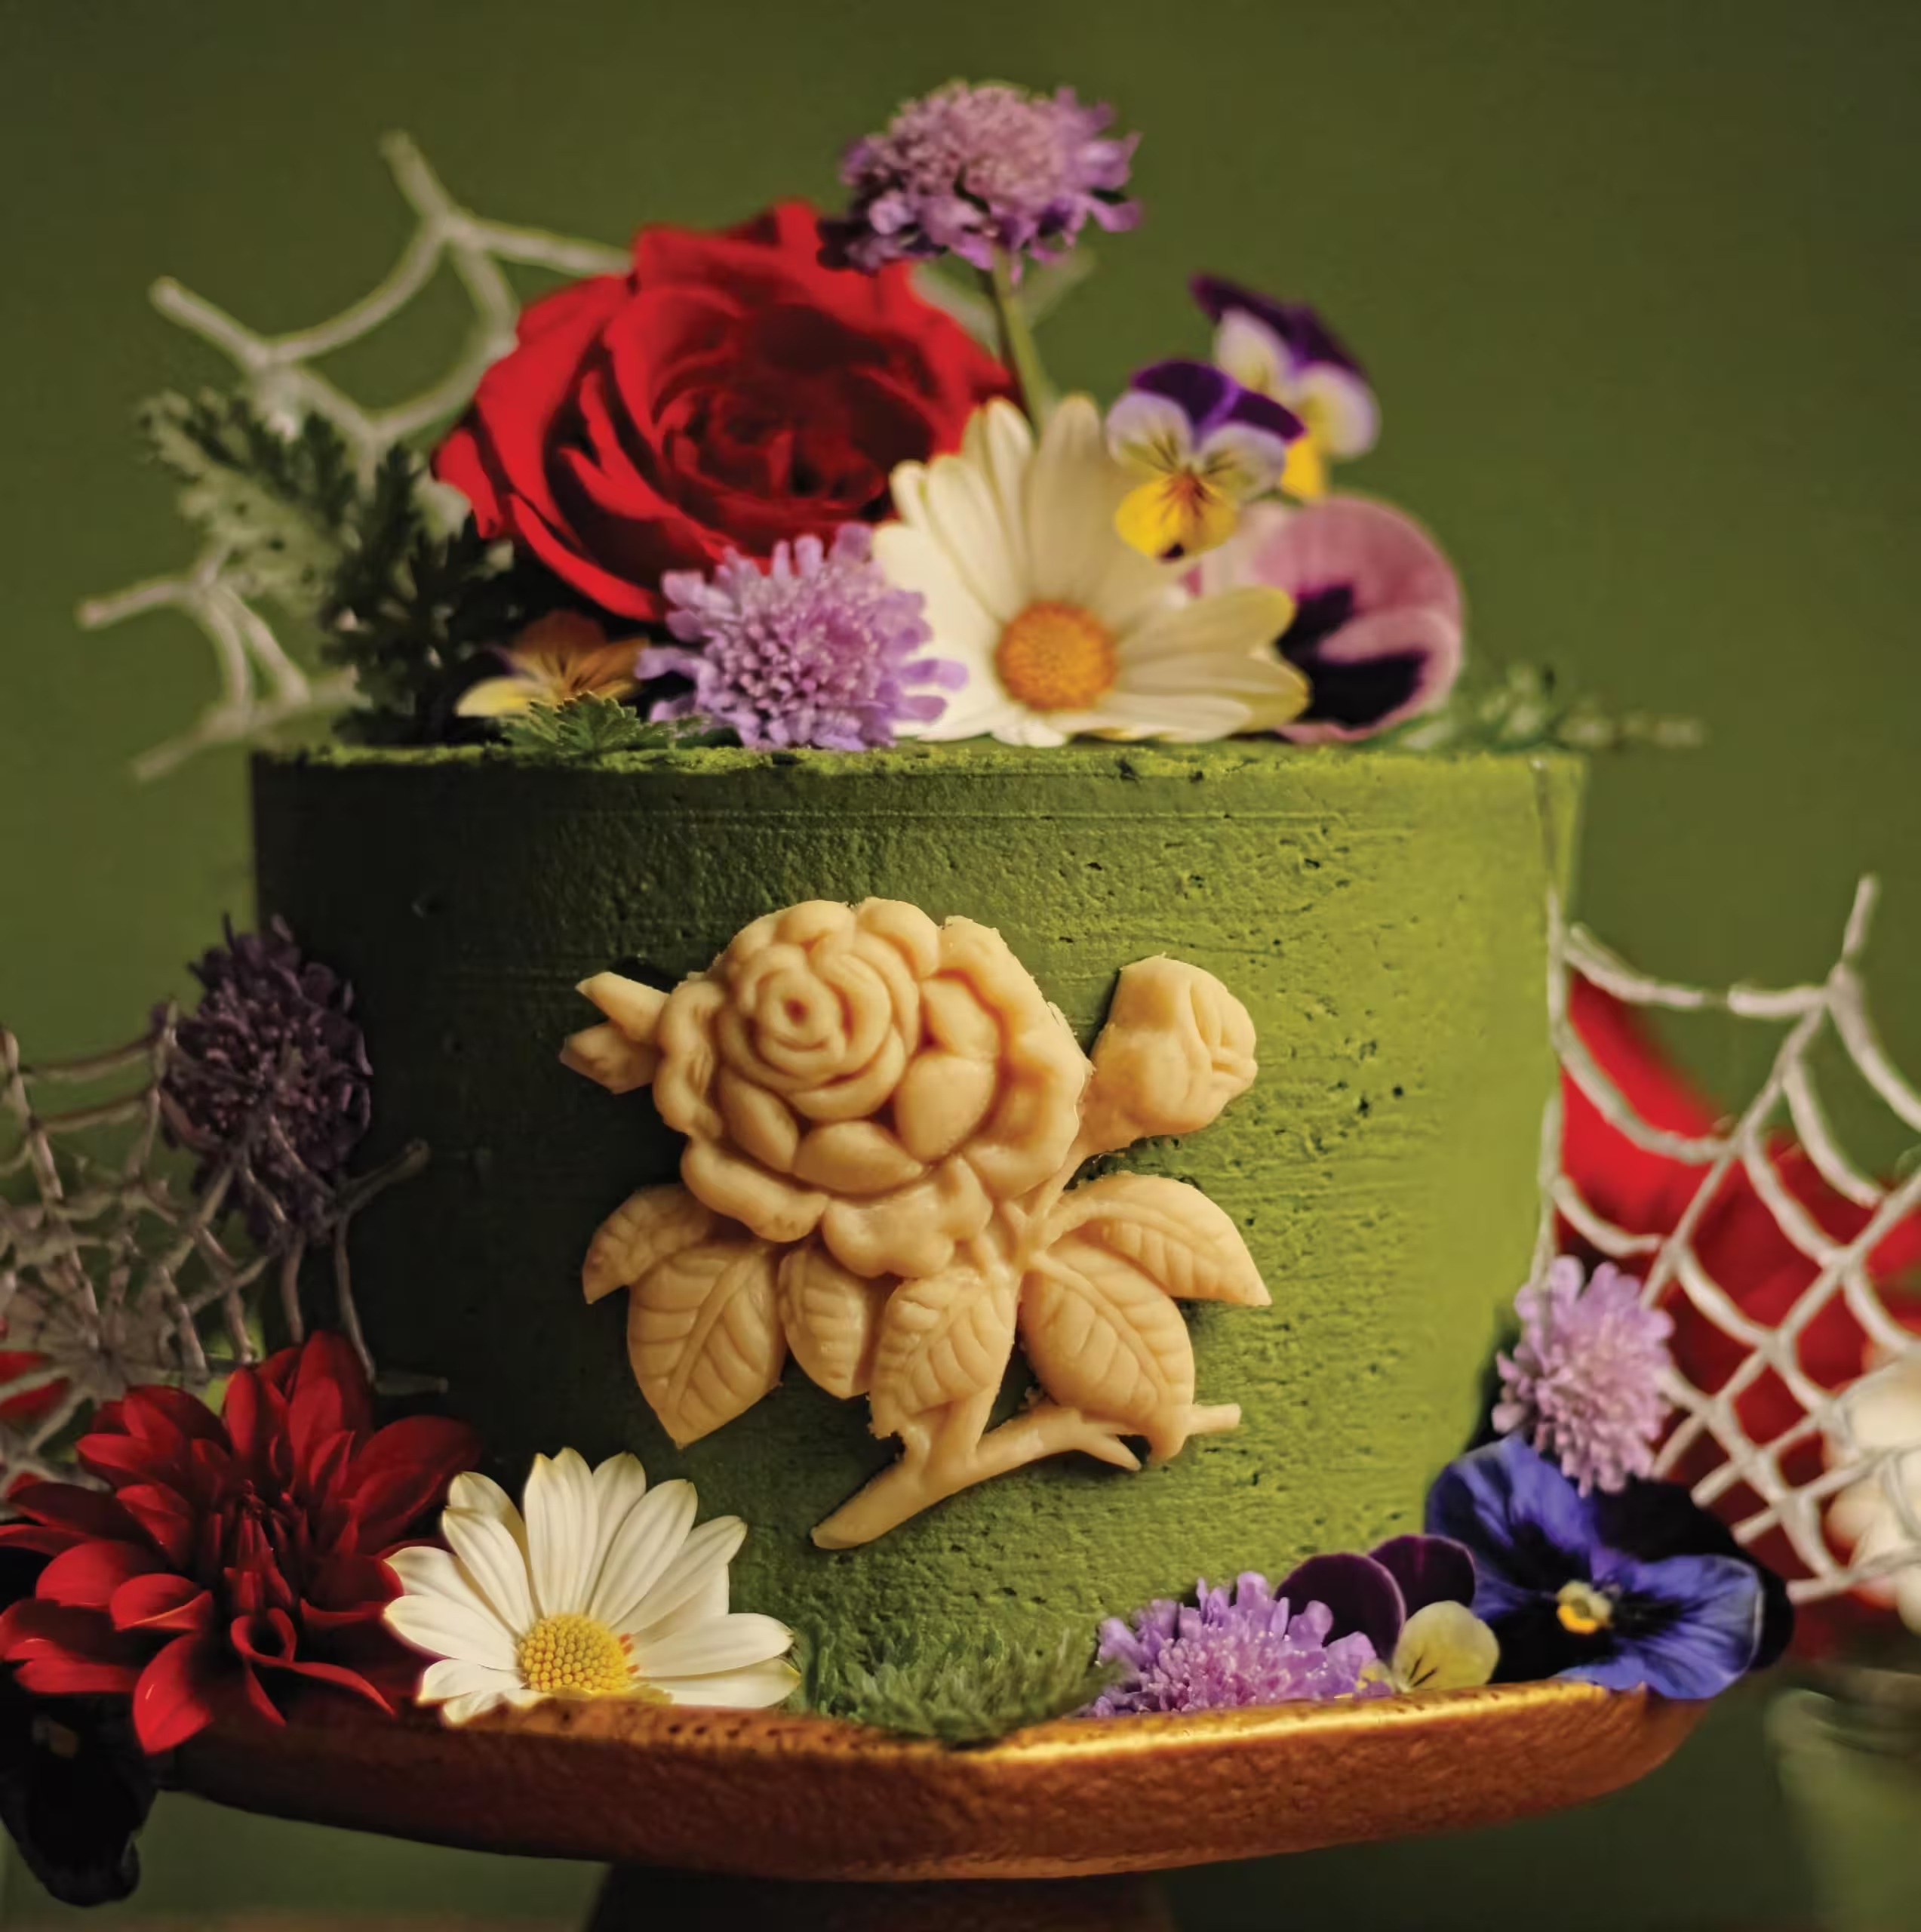
ROSE CAKE (with dairy- and gluten-free alternatives)
2 cups all-purpose flour or 1:1 gluten-free mix
1½ cups granulated sugar
3½ teaspoons baking powder
1 teaspoon salt
2 to 3 teaspoons rose powder, depending on desired flavor potency
½ cup melted butter, dairy or plant-based
3 eggs (at room temperature), or ¾ cup unsweetened applesauce
1 cup milk (at room temperature), dairy or plant-based
Preheat oven to 350°F. Grease four 6-inch round cake pans and line with parchment paper. Set aside.
Combine the flour, sugar, baking powder, salt, and rose powder. Sift to combine. Add the butter, eggs, and milk. Mix by hand or with an electric mixer until evenly combined and lump free. This should take 1 to 2 minutes.
Divide the batter evenly into the four cake pans. Bake for 20 to 25 minutes, or until a toothpick inserted in the center comes out cleanly.
Allow the cakes to cool in their pans for 20 minutes before carefully transferring them to a wire rack as you begin working on the frosting.
BUTTERCREAM FROSTING (with dairy-free alternatives)
1 cup unsalted butter (softened), dairy or plant-based
5 to 6 cups powdered sugar, depending on desired consistency
¼ cup heavy cream or full-fat coconut milk
Food coloring (optional)
Fit your standing mixer with the whisk attachment. Put the butter in the bowl and turn the mixer on low. Add in the powdered sugar, ½ cup at a time. Once you’ve mixed in 2 cups of sugar, add a splash of cream. Add in food coloring, if you choose. Continue adding sugar until desired consistency is achieved. If the frosting is too thick, you can add more cream.
GELATIN SPIDERWEBS
3 envelopes plain gelatin
5 tablespoons water
Food-safe marker
Parchment paper
Plastic squeeze bottle or thick pastry bag fitted with a fine icing piping tip
Using a food-safe marker, draw spiderwebs on a piece of parchment paper. Set aside.
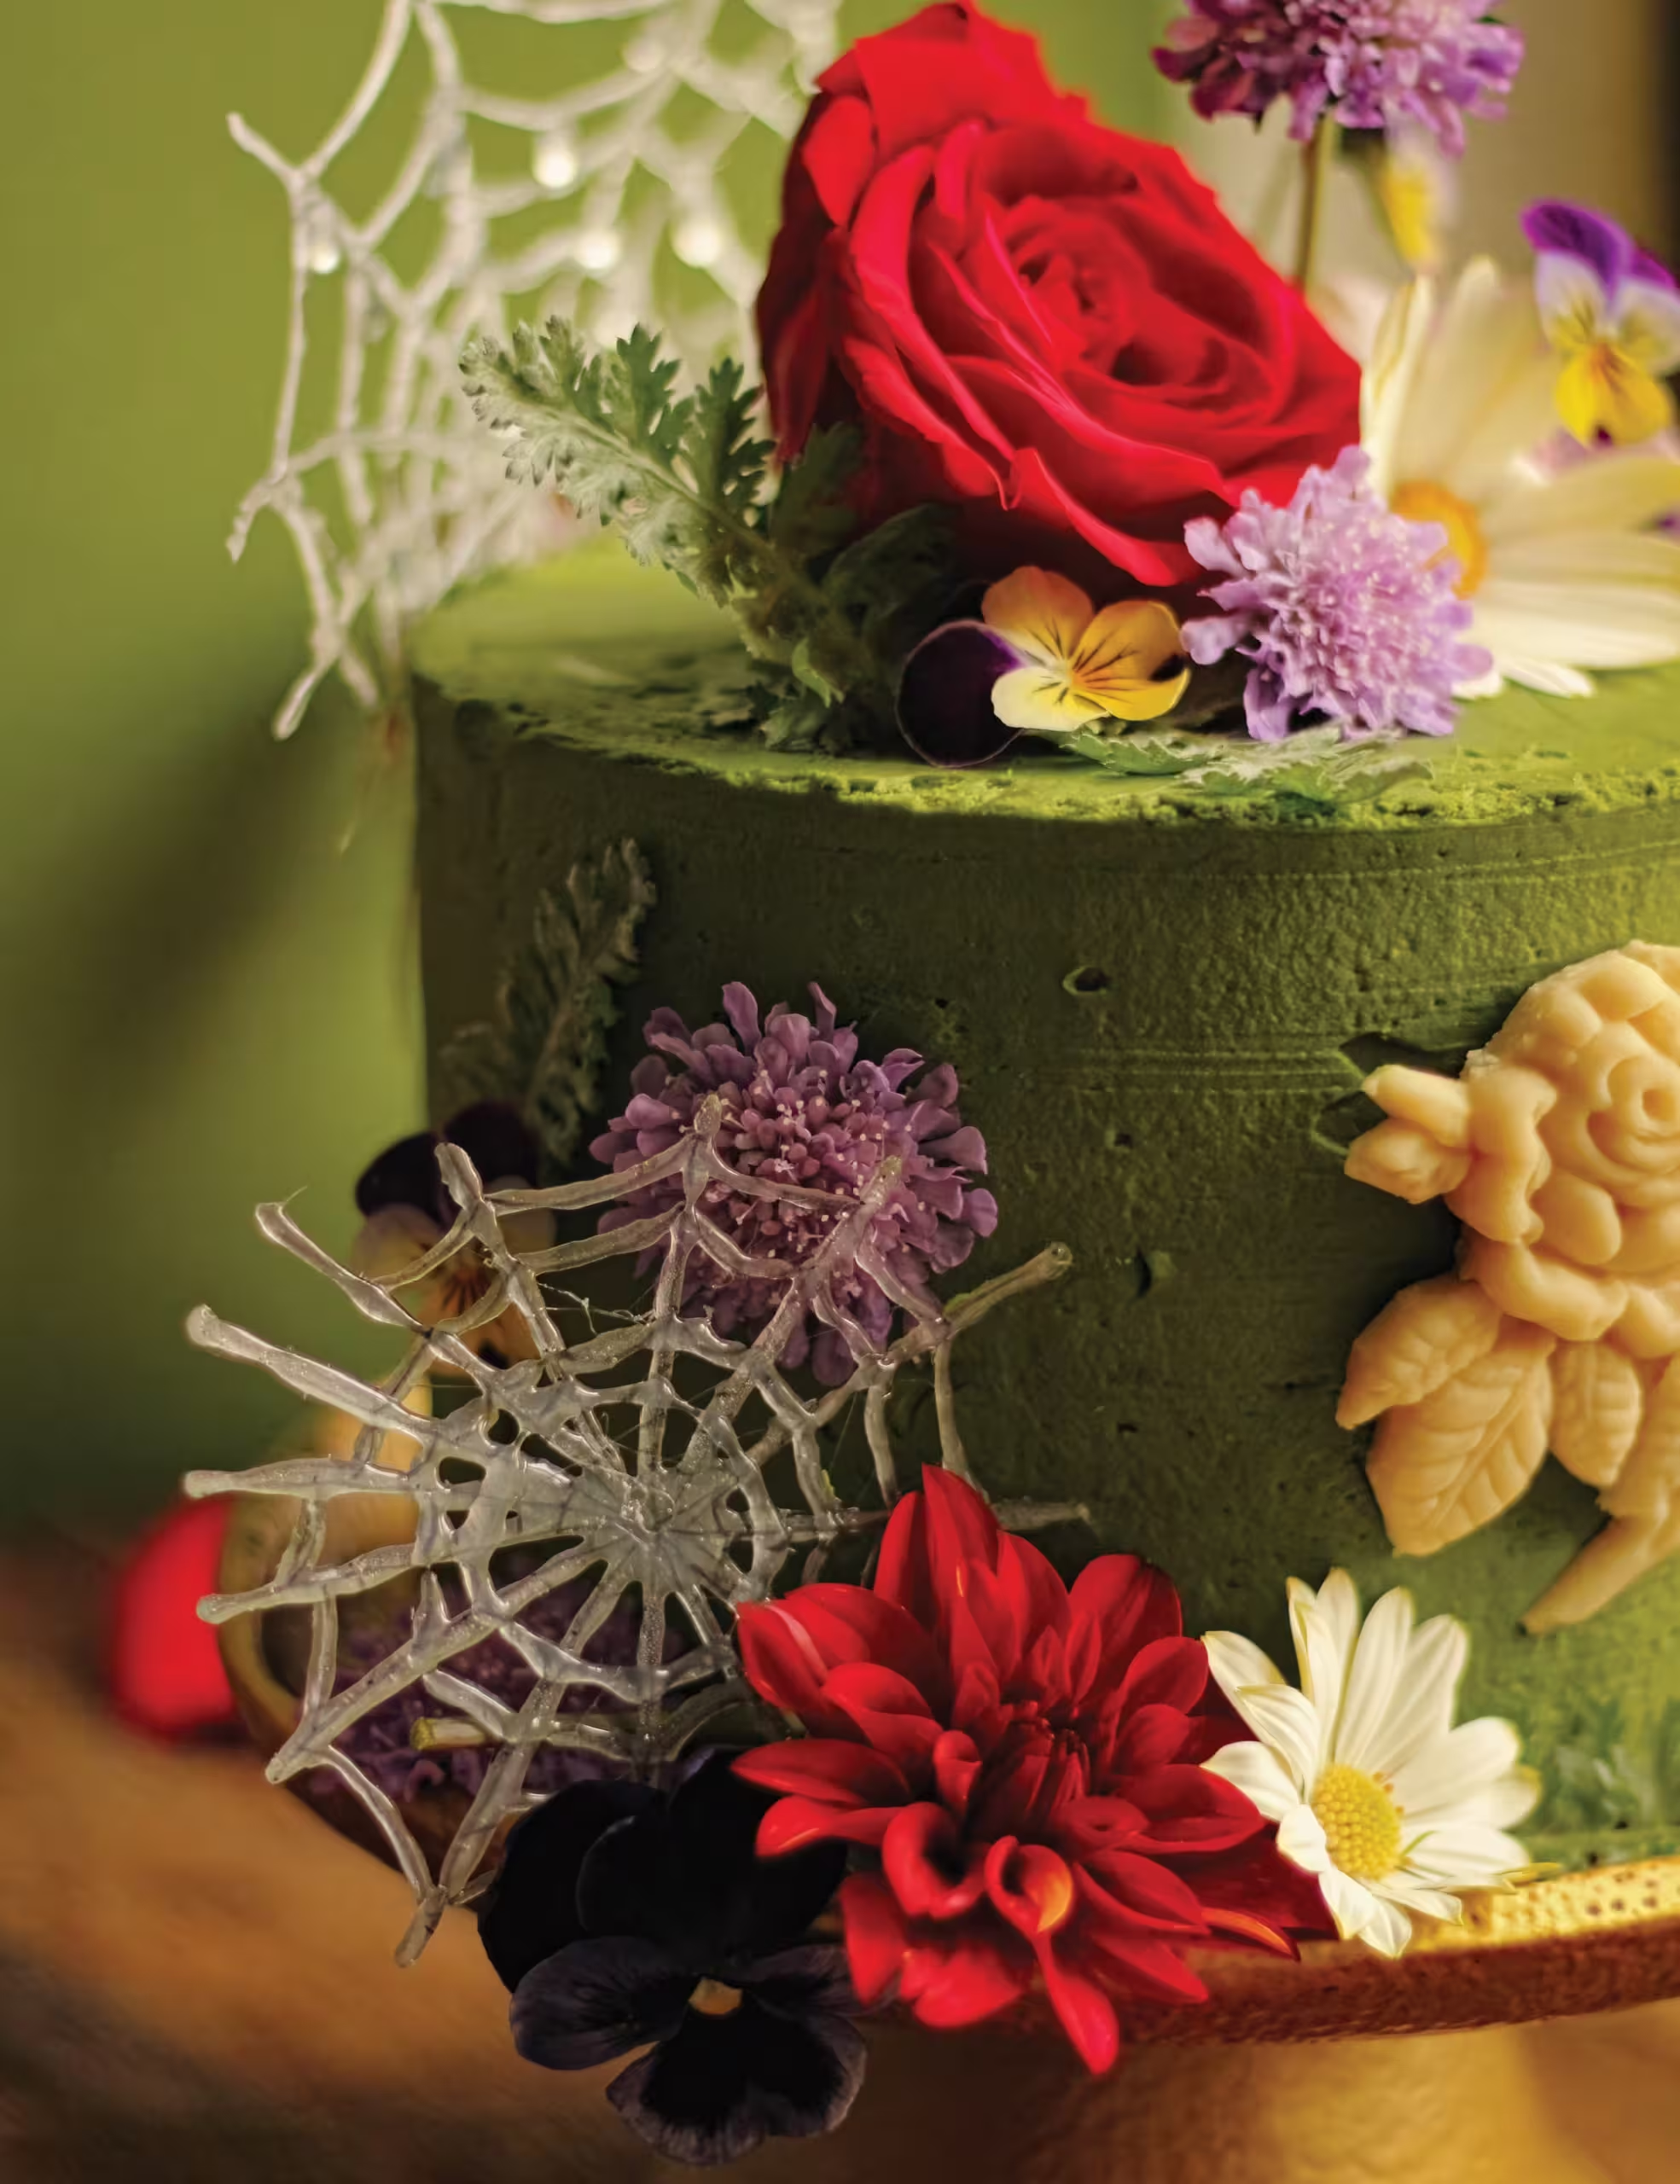
Combine the gelatin and water in a medium saucepan. Turn to medium-low heat and allow the gelatin to dissolve; this should take around 1 minute. (It took me a lot of trial and error to figure out how to get the gelatin to harden, but not harden too quickly!) Once it’s dissolved, carefully pour the mixture into a plastic squeeze bottle or piping bag fitted with a small pointed tip. Pipe the gelatin out onto the drawn spiderwebs by tracing them carefully. Do this for as many spiderwebs as you’d like to create. I did three different designs. Make sure to pipe as quickly as you can because the gelatin sets up fast.
Now, if you are vegan or using only plant-based ingredients, gelatin will not be an option for you. But you can always use nontoxic school glue! This idea actually came from my years as a schoolteacher making glue spiderwebs in the classroom: I wanted to make an edible version of them!









 Enchanted Living is a quarterly print magazine that celebrates all things enchanted.

